Suspension Setup Basics: Finding the Perfect Balance
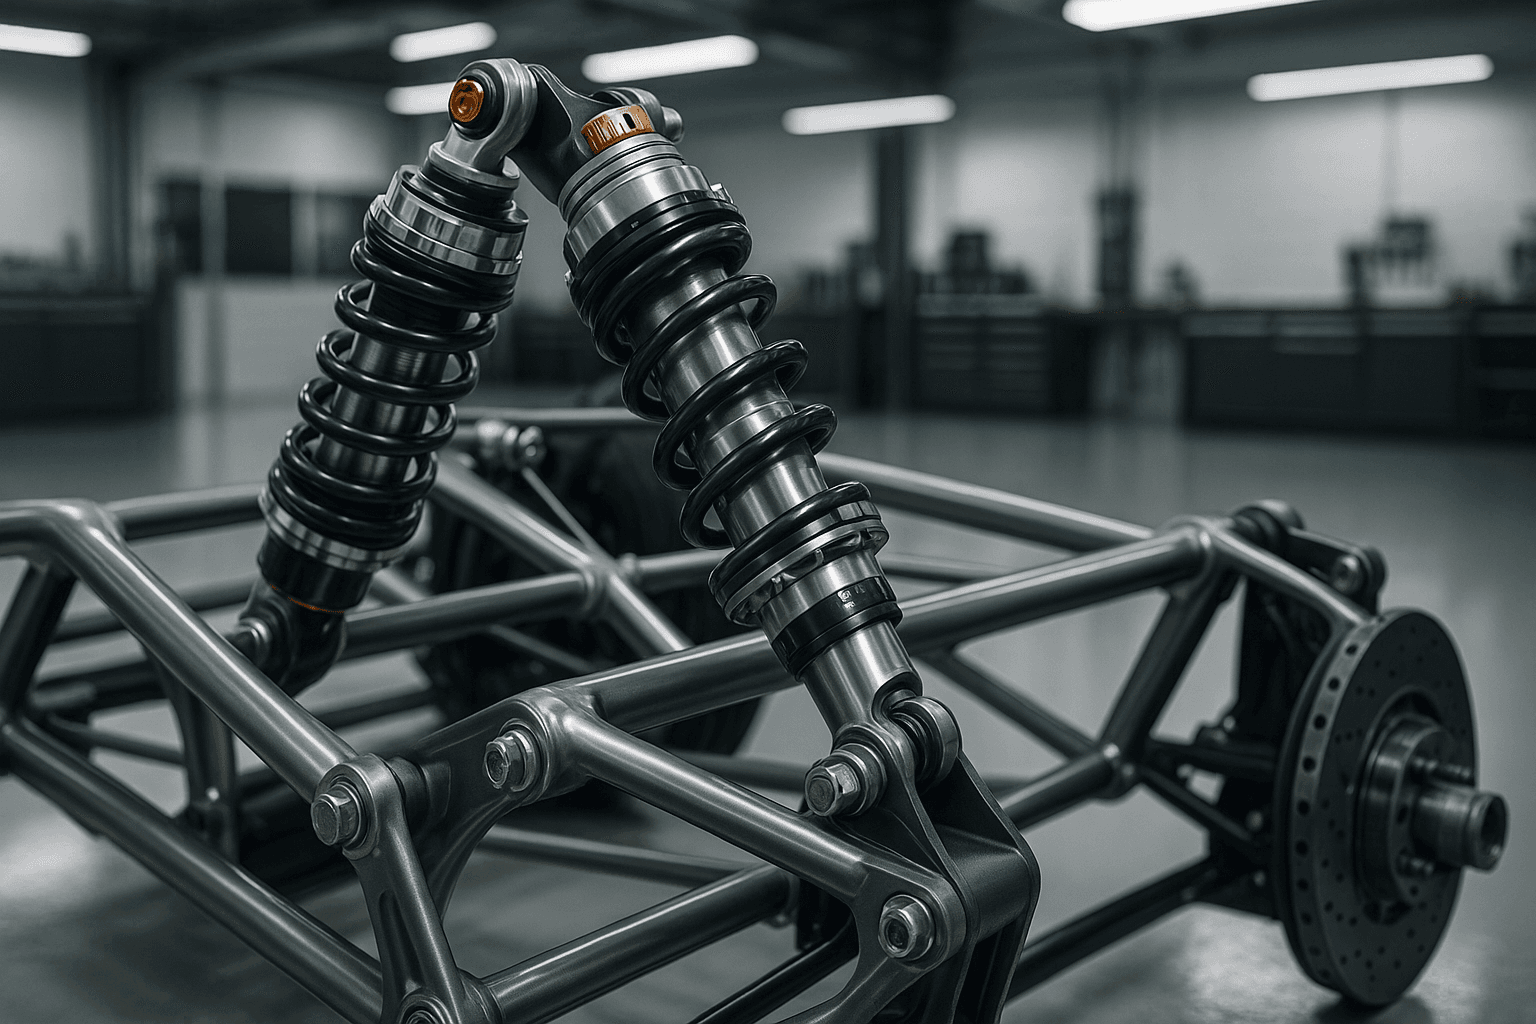
Suspension Setup Basics: Finding the Perfect Balance
In the world of racing, every millisecond counts. A well-optimized suspension setup can be the difference between a podium finish and a mid-pack struggle. This guide will walk you through the fundamentals of suspension tuning, providing actionable insights to help you find the perfect balance for your racing car.
Problem Statement
Many racers, both amateur and professional, struggle with suspension setup due to its complexity and the interplay of various components. Common issues include inconsistent handling, poor traction, and excessive tire wear. This guide aims to demystify suspension tuning, focusing on practical adjustments for spring rates, dampers, anti-roll bars, and ride height.
Technical Background
The suspension system’s primary functions are to maximize tire contact with the road, control vehicle dynamics, and provide a stable platform for braking, acceleration, and cornering. Key components include:
- Springs: Control vertical movement and support the vehicle’s weight.
- Dampers (Shocks): Control the speed of suspension movement.
- Anti-roll Bars: Reduce body roll by transferring load between left and right wheels.
- Ride Height: The distance between the chassis and the ground, affecting aerodynamics and weight distribution.
Step-by-Step Guide
1. Spring Rate Calculations
Spring rates are measured in N/mm (Newton per millimeter) or lb/in (pounds per inch). The goal is to match the spring rate to the vehicle’s weight and intended use:
- Calculate Corner Weight: Measure the weight at each corner of the car. For example, if the total weight is
1200 kg, each corner might carry300 kg. - Determine Target Frequency: Aim for a natural frequency of
1.5–2.0 Hzfor circuit racing. Use the formula:f = (1/2π) * √(k/m), wherekis spring rate andmis corner weight. - Select Spring Rates: For a
300 kgcorner weight and1.7 Hztarget, calculate:k = (2π * f)² * m ≈ 12,000 N/mm.
2. Damper Settings
Dampers control the oscillation of springs. Adjust compression and rebound separately:
- Compression: Controls the suspension’s response to bumps. Stiffer settings (
8-10 clicksfrom full stiff) improve high-speed stability. - Rebound: Controls the return of the suspension. Softer settings (
6-8 clicksfrom full stiff) improve traction on exit.
Example: For a technical track like Suzuka, use 8 clicks compression and 6 clicks rebound for a balanced setup.
3. Anti-Roll Bar Adjustments
Anti-roll bars reduce body roll but can compromise traction if over-adjusted. Measure bar stiffness in N/m:
- Softer Bars: Increase mechanical grip (
2 turnsfrom stiff for twisty tracks like Monaco). - Stiffer Bars: Reduce body roll on high-speed corners (
4 turnsfrom stiff for Silverstone).
4. Ride Height Adjustments
Ride height affects aerodynamics and weight distribution. Measure from a fixed reference point:
- Front Ride Height:
50-60 mmfor circuit racing to balance downforce and drag. - Rear Ride Height:
55-65 mmto optimize rear grip and stability.
5. Setup Changes for Racing Disciplines
- Circuit Racing: Focus on balanced grip and stability. Use
medium spring ratesandadjustable dampers. - Oval Racing: Prioritize high-speed stability. Use
stiffer springsandfirmer dampers. - Rally: Emphasize compliance for rough surfaces. Use
softer springsandslower rebound.
Real-World Examples
Suzuka Circuit (Japan)
Before: Car struggled with understeer in the Esses. Front springs: 14,000 N/mm, Rear springs: 12,000 N/mm.
After: Reduced front spring rate to 13,000 N/mm, added 2 clicks of front rebound. Improved rotation and lap times by 1.2 seconds.
Silverstone (UK)
Before: Excessive body roll in Maggots and Becketts. Anti-roll bar: 3 turns.
After: Increased anti-roll bar stiffness to 5 turns, adjusted ride height to 55 mm front and 60 mm rear. Reduced lap time by 0.8 seconds.
Common Mistakes
- Over-Adjusting Dampers: Too stiff settings cause harsh ride and reduced traction.
- Ignoring Corner Weights: Uneven weight distribution leads to inconsistent handling.
- Neglecting Tire Temperatures: Improper setup causes uneven tire wear and overheating.
Pro Tips
- Use Data Loggers: Monitor suspension travel, tire temps, and G-forces for precise adjustments.
- Test Incrementally: Change one variable at a time (e.g.,
+1 clickon rebound) and log results. - Consider Track Conditions: Adjust for temperature and surface grip. For wet conditions, soften dampers by
2-3 clicks.
Conclusion
Finding the perfect suspension balance requires a blend of theory, testing, and iteration. Start with calculated spring rates, fine-tune dampers and anti-roll bars, and adjust ride height for the specific track and racing discipline. Remember, small changes can yield significant improvements. Use data and track feedback to refine your setup and stay ahead of the competition.
"The right suspension setup doesn’t just make you faster—it makes you consistent, and consistency wins races."
Ready to optimize your setup? Start with corner weighting and spring rate calculations, and test systematically on track. Your podium finish awaits!
Tags
Related Articles

Wet Weather Setup: Mastering Rain Racing
Essential setup changes and driving techniques for wet weather racing conditions to maintain competitive lap times.
Brake Balance Tuning: Stopping Power and Stability
Learn how to fine-tune your brake balance for maximum stopping power while maintaining vehicle stability under heavy braking.

Mastering Speedway Sedans Setup for Australian Ovals
Unlock the secrets to dominating speedway sedan racing on Australian ovals. From tire pressures to track reading, this guide provides actionable setup tips for maximum performance.